Your cart is currently empty!
Author: jeremy
-
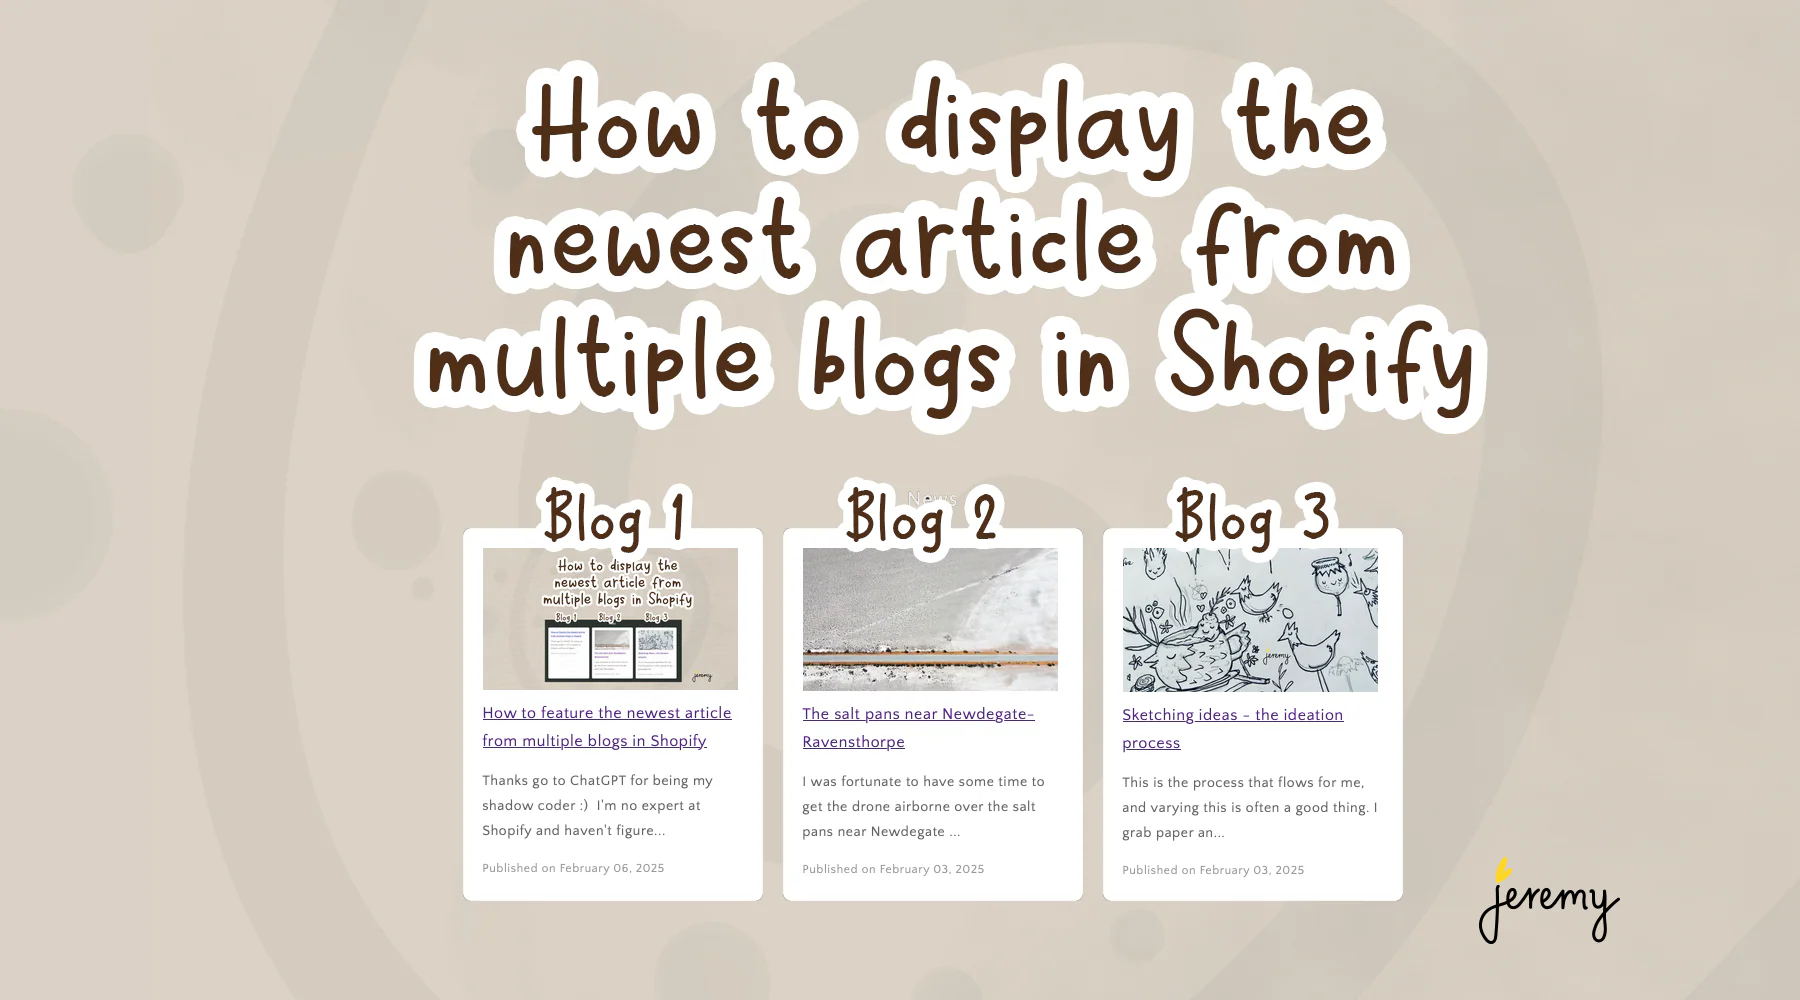
How to feature the newest article from multiple blogs in Shopify
If you’re looking for a way to display multiple blog articles on your Shopify site, this article is for you. Thanks go to ChatGPT for being my shadow coder 🙂 I haven’t figured out how to add a new section template and get it to be available as a option, but with custom code this setup works.
There’s more formatting work to be done, but someone smarter than me might be able to finish this off so it styles the same as the standard blog feature section.
Instructions are:
- Copy this code below
- Edit the blog names (in the code below) to match your blog names. I’ve set them to blogname-1,blogname-2,blogname-3 in the code below. Replace them with yours
- Edit your Theme
- Add a custom code object and
- Paste in your code and save
After doing the above, you should have the first article from each blog displaying on your Shopify site. Enjoy!
P.S. I got a little help from an AI friend to clean up the code.
{{ 'component-slider.css' | asset_url | stylesheet_tag }}
{{ 'component-card.css' | asset_url | stylesheet_tag }}
{{ 'component-article-card.css' | asset_url | stylesheet_tag }}
{{ 'section-featured-blog.css' | asset_url | stylesheet_tag }}
{%- style -%}
.section-{{ section.id }}-padding {
padding-top: {{ section.settings.padding_top | times: 0.75 | round: 0 }}px;
padding-bottom: {{ section.settings.padding_bottom | times: 0.75 | round: 0 }}px;
}
@media screen and (min-width: 750px) {
.section-{{ section.id }}-padding {
padding-top: {{ section.settings.padding_top }}px;
padding-bottom: {{ section.settings.padding_bottom }}px;
}
}
{%- endstyle -%}
{% assign blog_handles = 'news,photography,art' | split: ',' %}
<style>
.featured-blogs {
padding: 10px;
border-radius: 8px;
text-align: center;
}
.featured-blogs h2 {
font-size: 28px;
margin-bottom: 20px;
color: #333;
}
.featured-blogs ul {
list-style: none;
padding: 0;
display: flex;
flex-wrap: wrap;
justify-content: center;
gap: 20px;
}
.featured-blogs li {
background: white;
border-radius: 8px;
box-shadow: 0 4px 8px rgba(0, 0, 0, 0.1);
padding: 20px;
width: 300px;
text-align: left;
transition: transform 0.2s ease-in-out;
}
.featured-blogs li:hover {
transform: translateY(-5px);
}
.featured-blogs h3 {
font-size: 20px;
margin-bottom: 10px;
}
.featured-blogs h3 a {
text-decoration: none;
color: #0073e6;
}
.featured-blogs p {
font-size: 14px;
color: #666;
}
.featured-blogs small {
display: block;
margin-top: 10px;
font-size: 12px;
color: #999;
}
</style>
<div class="featured-blogs section-{{ section.id }}-padding">
<ul>
{% for handle in blog_handles %}
{% assign blog = blogs[handle] %}
{% if blog.articles.size > 0 %}
{% assign article = blog.articles.first %}
<li>
{% if article.image %}
<a href="{{ article.url }}">
<img
src="{{ article.image | img_url: '255x' }}"
alt="{{ article.title }}"
class="motion-reduce"
loading="lazy"
>
</a>
{% else %}
<a href="{{ article.url }}">
<img
src="{{ 'placeholder-image.jpg' | asset_url }}"
alt="Placeholder image"
class="motion-reduce"
loading="lazy"
>
</a>
{% endif %}
<h3><a href="{{ article.url }}">{{ article.title }}</a></h3>
<p>{{ article.excerpt_or_content | strip_html | truncate: 100 }}</p>
<small>Published on {{ article.published_at | date: '%B %d, %Y' }}</small>
</li>
{% endif %}
{% endfor %}
</ul>
</div>---
If you want just a list of the top 5 articles in an UL / LI list, here it is:
---
{% assign blog_handles = 'news,photography,art' | split: ',' %}
{% assign article_count = 0 %}
{% assign max_articles = 5 %}
<div class="featured-blogs section-{{ section.id }}-padding">
<h2>Latest Articles</h2>
<ul>
{% for handle in blog_handles %}
{% assign blog = blogs[handle] %}
{% for article in blog.articles %}
<li>
<a href="{{ article.url }}">{{ article.title }}</a>
</li>
{% assign article_count = article_count | plus: 1 %}
{% if article_count >= max_articles %}
{% break %}
{% endif %}
{% endfor %}
{% if article_count >= max_articles %}
{% break %}
{% endif %}
{% endfor %}
</ul>
</div>
----Hope you found this useful! Leave a comment if you have a feedback.
-
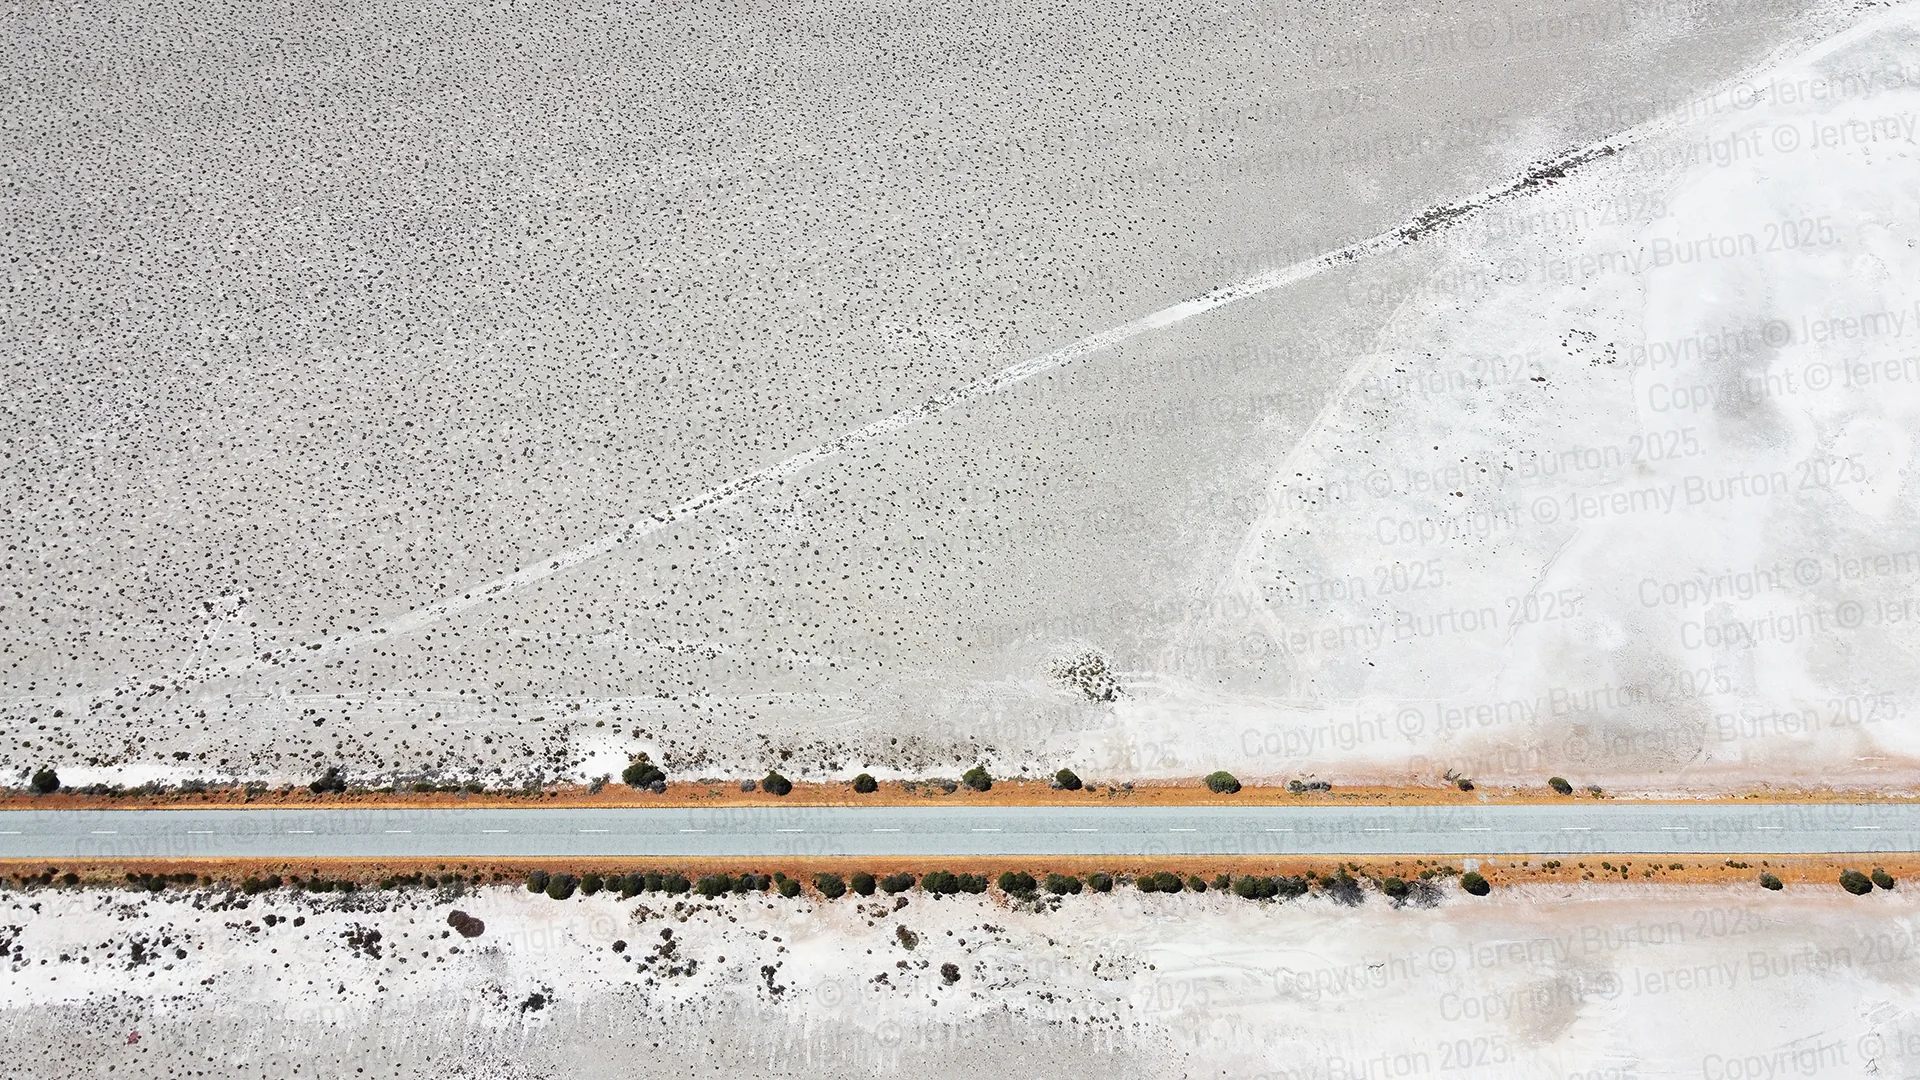
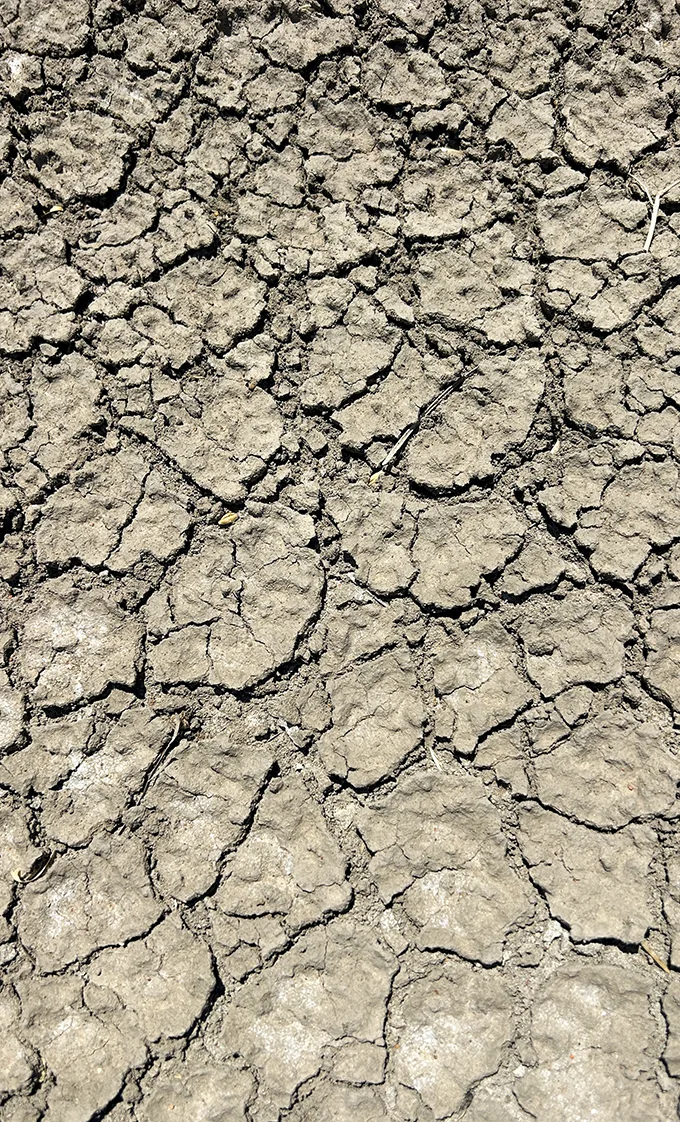
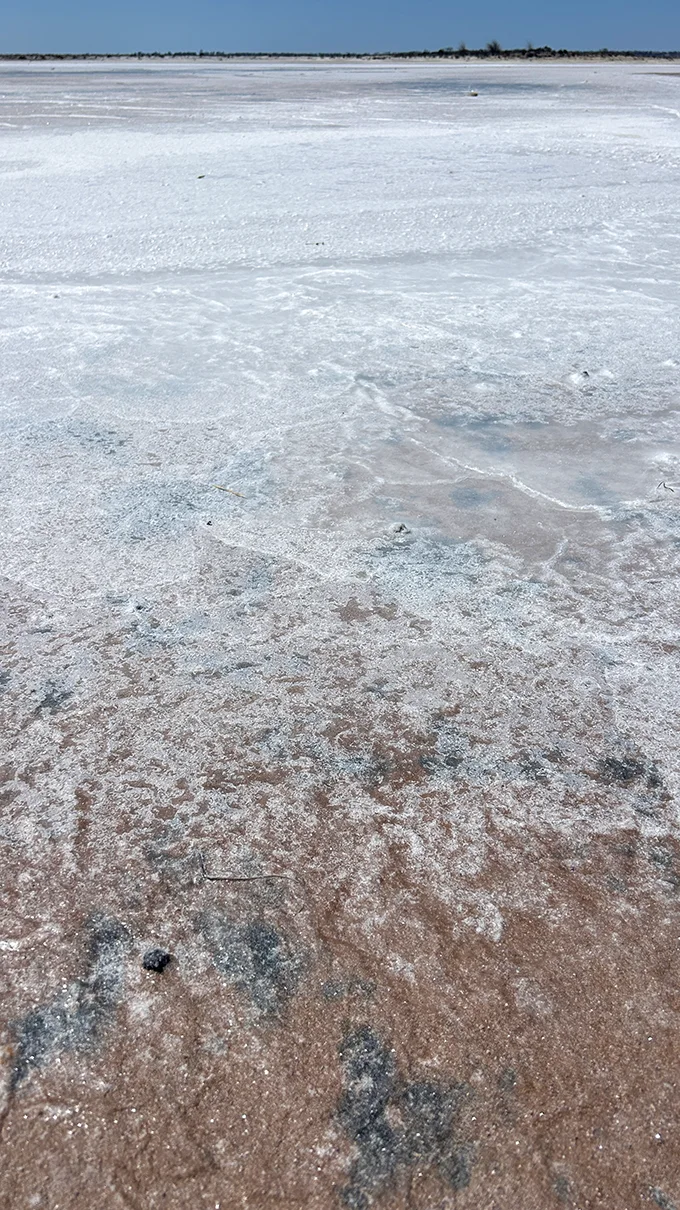
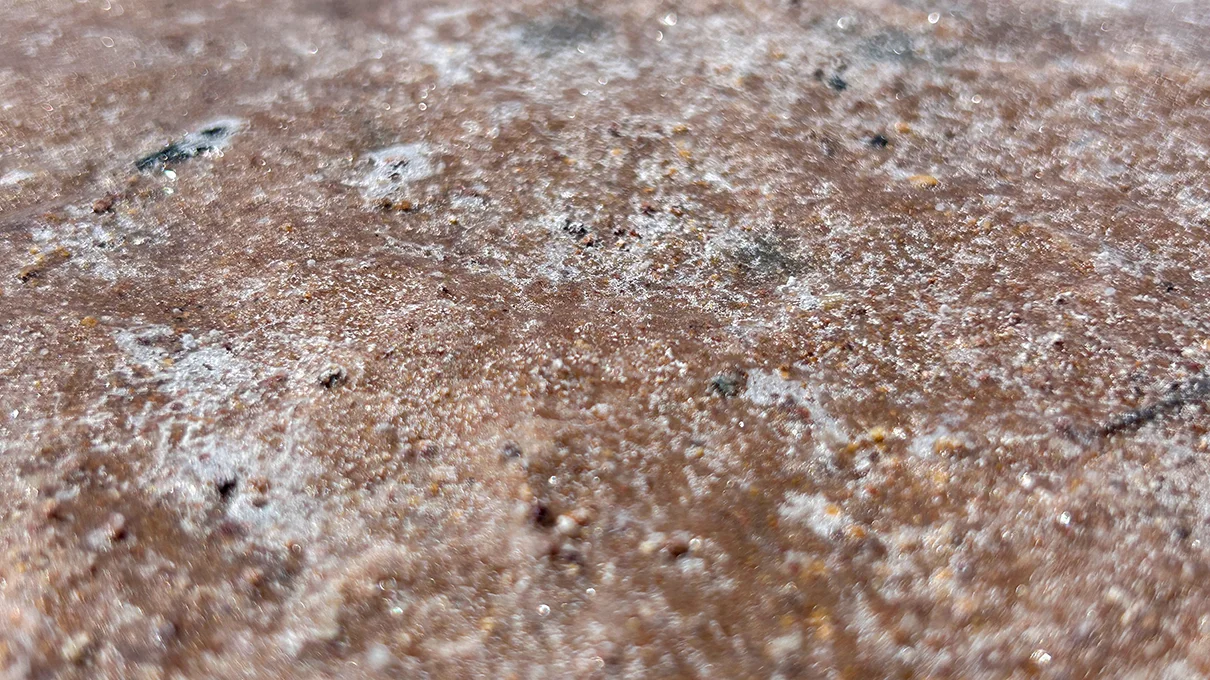
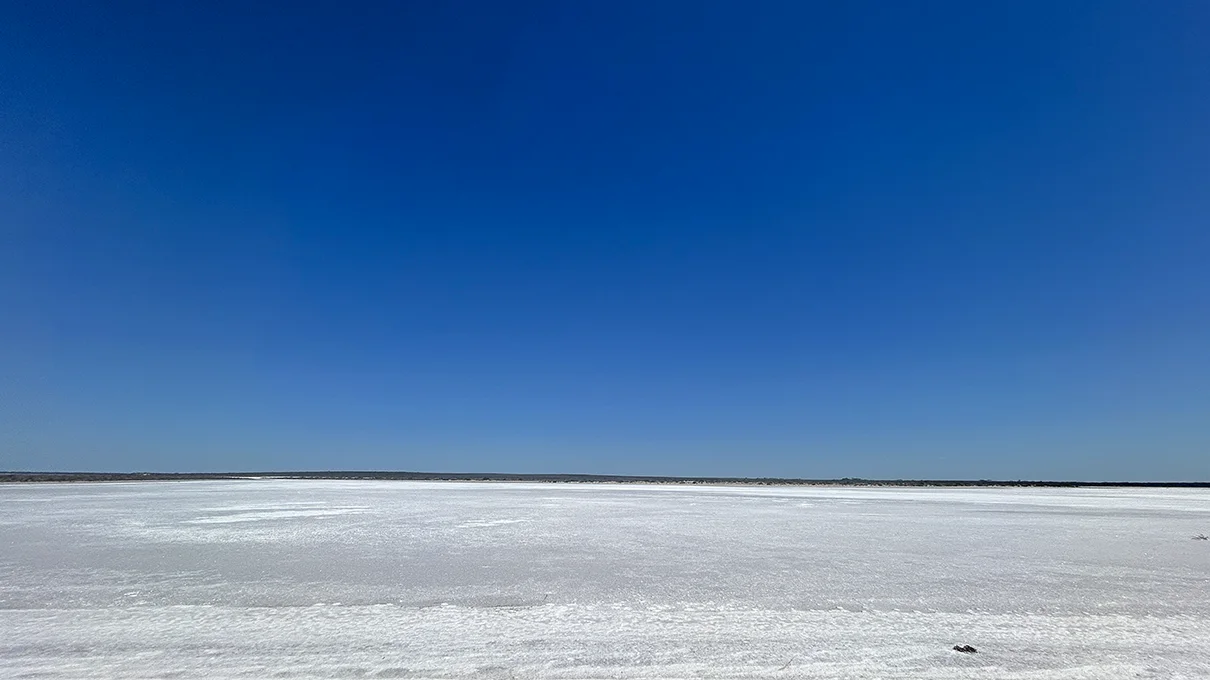
The salt pans near Newdegate-Ravensthorpe
I was fortunate to have some time to get the drone airborne over the salt pans near Newdegate in WA, search up Lake Grace to find them. It’s the end of January and a 40c degree day, super hot and dry.
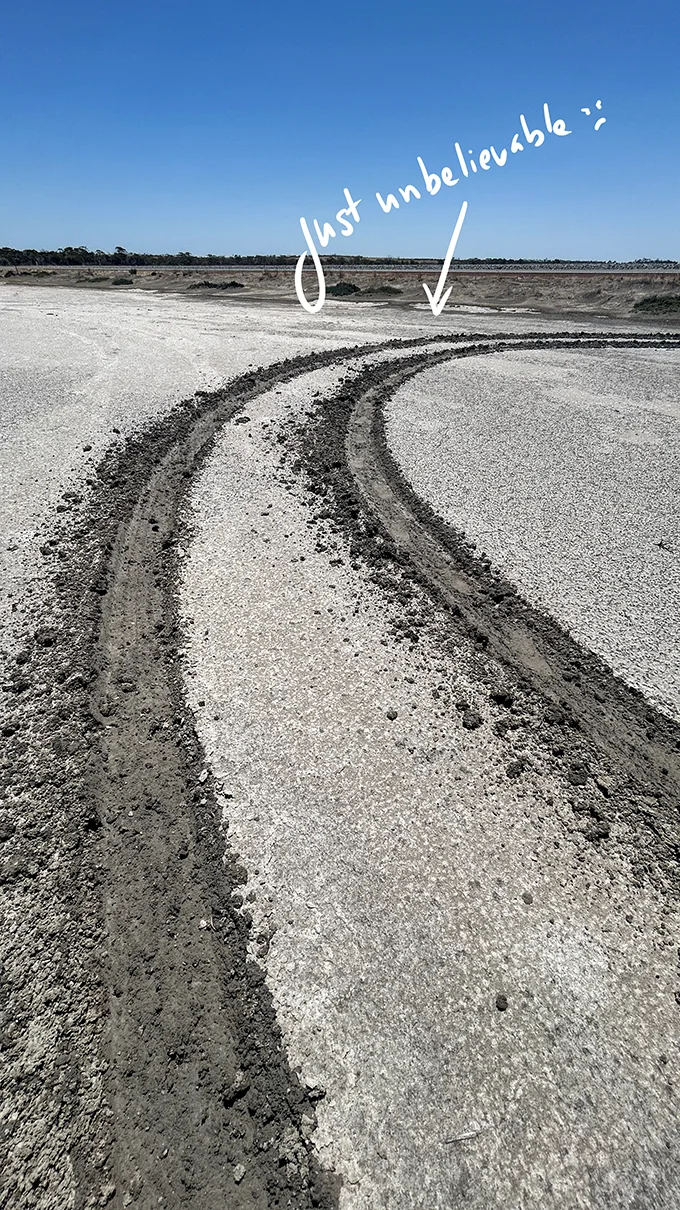
I made the poor choice (yes, I’ve made this mistake before) of stepping out onto the set pan. Beware, the crust is thin and underneath is super heated salt water. And yes, if you’re wearing thongs, it will burn you. Do not drive into them, I mean who would right.
Anyway the pans are stunning and the birds eye view is amazing, even with the red stripes of the roads cut right through the middle.

art are available in the gift store.
-
How to make potassium water
Potassium water is a tea compost or liquid fertiliser you can make easily at home with kitchen or food scraps. Just throw the particular ingredients into water and let it steep. You can do this with any food scraps. Research what they’re made up and you can figure out a balanced fertiliser to match your plants.
In this case we’ll use banana skins, they have lots of potassium.
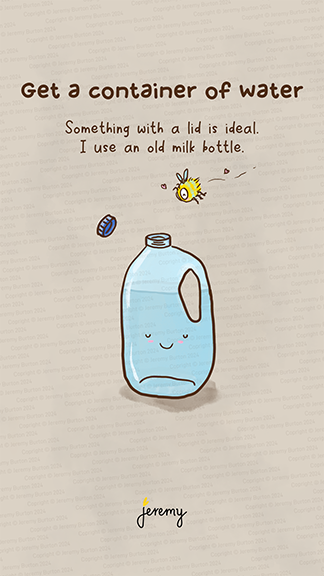
Get a container
An old milk bottle or water bottle will do. I use the old 2 ltr milk bottles.
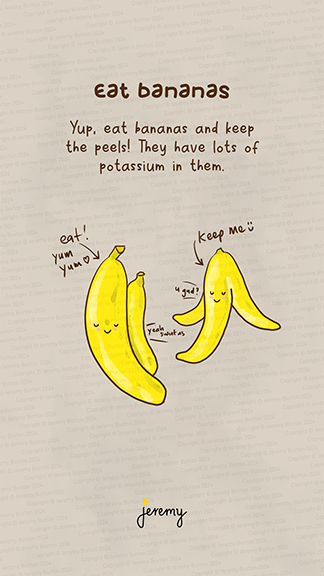
Eat bananas
Eat your bananas and keep the peels. The fun bit!
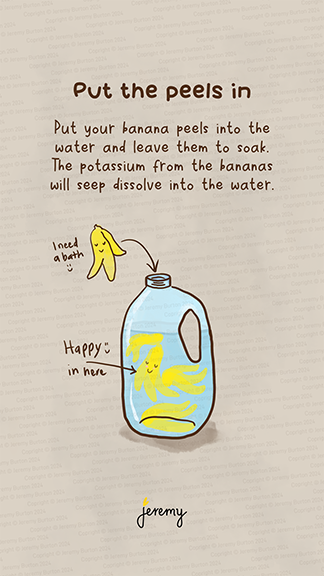
Put the peels into your water
Put the peels into your bottle of water and leave them to soak. The potassium from the bananas will seep into the water.
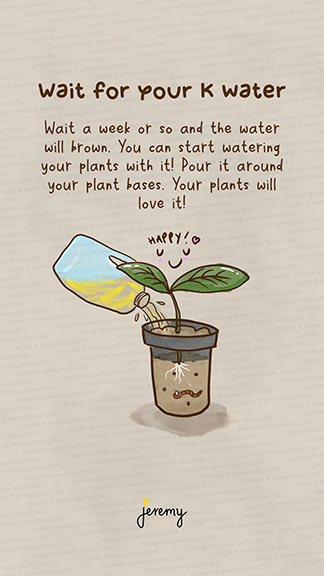
Wait for your k water
Leave it for a week or so and the water will start to brown. You can start watering your plants with it now! Pour it around the base of your plants, they will love it!
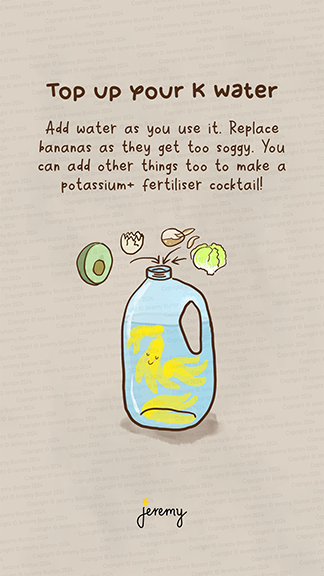
Top up your k water
Add more water to your container as you use it and replace the banana peels as they get too soggy. Mix in other scraps for other nutrients to make a fertiliser cocktail.
Enjoy!
Leave a comment if you found this useful.
Follow me on these platforms for more: threads, Insta, TikTok, Pinterest