
Your cart is currently empty!
Author: jeremy
-

How to grow basil in a bottle
I love basil, you might too. It’s fresh herby smell and taste in a salad or on pizza is one of the pleasures in life. Let’s face it, the basil from the supermarkets isn’t all that fresh and since it’s been cut, it’s on its way out. Unless you’re lucky enough to have access to potted basil in your supermarket.
That’s what I always try to have some growing in the garden or near the kitchen window. It grows quickly and you can just take a cutting and start again with a new plant. Here’s an easy method to grow basil in an up cycled plastic bottle, you’ll need a basil seed or two.
Prepare your bottle
Wash your plastic bottle so it’s fairly clean. I remove the label so it’s easier to see the root progress. Then cut the top off with scissors.

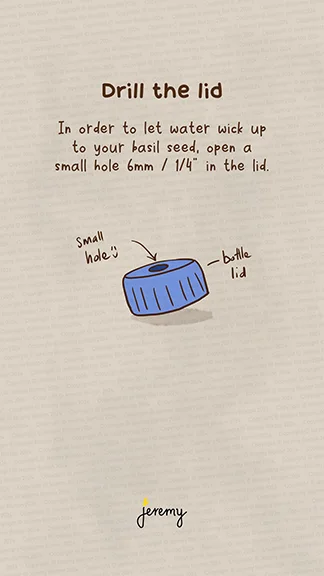
Drill the lid
Drill the lid with a 6mm / 1/4″ hole to allow water to seep into your growing medium.
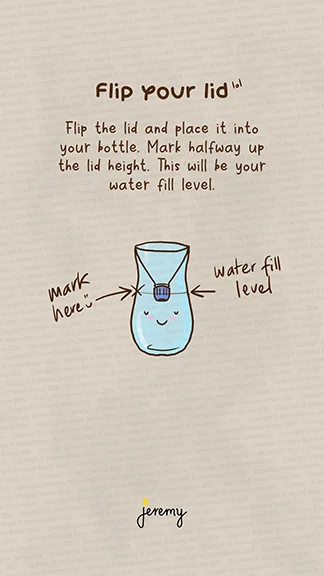
Flip your lid
Flip the lid and place it upside down into your bottle. Use a sharpie or similar marker to mark halfway up the lid as your watermark.
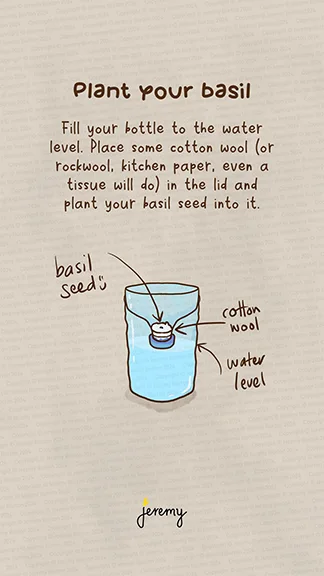
Plant your basil
Fill your bottle to the water mark and lace some cotton wool or kitchen paper into the lid and plant your basil seed into it.
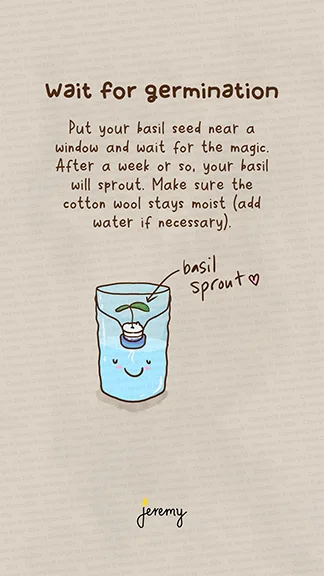
Wait for germination
Put your bottle near a window and wait for the magic. Make sure to keep the water level constant and after a week or so, your basil should germinate.
Plant it out

After a month, you should have a nice little seedling ready to be planted out into a pot. Add some compost tea to the water if you’d like to keep it in near the window. Enjoy!
Follow me on these platforms for more: threads, Insta, Facebook, TikTok, Pinterest
-

How to make your own healthy fruit leather
Fruit leather is a great snack for at home or when on the road. It’s healthy and can be made entirely of fruit or vegetables. No need to add any sugar or flavours. These are great for saving a few dollars and stocking the kid’s lunchboxes.
Here’s a method to make your own and keep them stored for when you need them.
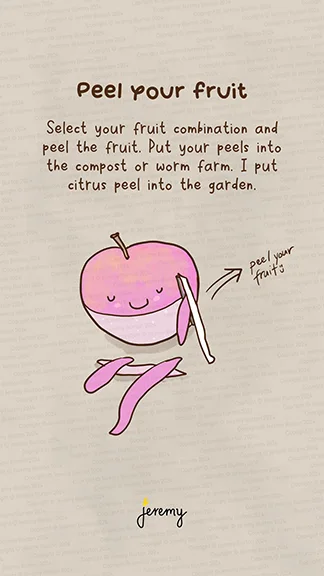
Peel your fruit (or vegetables)
Choose which combination of fruit or veggies you’d like in your fruit leather. Peel them and eat the peels or feed them to your worm farm or pets, ours go to the chickens.
Blend and blend
Remove all of the tough pith and seeds and put it all into the blender. If you’re using soft mushy fruit like bananas, leave those till later.

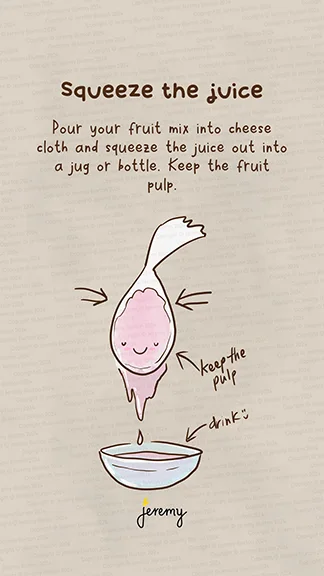
Squeeze the juice
Squeeze all of the juice out by pouring the mix into a cheesecloth and squeezing into a jug or bowl. Keep the fruit pulp, this is what we’ll use. The juice is for drinking, bottle it up.
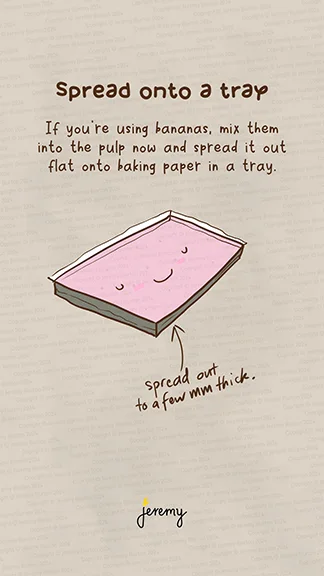
Spread onto a tray
Spread the pulp onto baking paper in an oven tray. Get it down to a few mm in thickness.
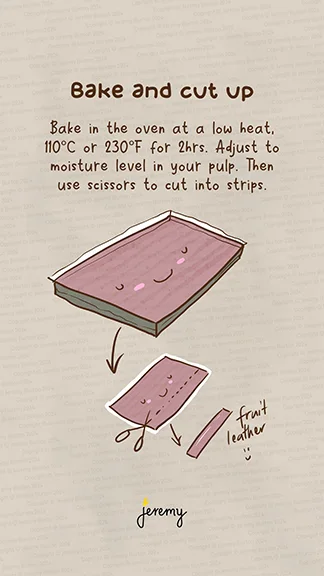
Bake and cut it up
Bake this in the oven on a low heat around 110C or 230F for a couple of hours. Thickness, sugar and moisture content etc will change the time you need to bake. Grab your scissors and cut it up into strips for easy eating.
Store it for later
Store your fruit leather strips into a jar with a lid for later. Some people sprinkle these with sugar, I prefer them without. Enjoy with friends!

Leave a comment if you found this useful.
Follow me on these platforms for more: threads, Insta, TikTok, Pinterest
-

My favourite ice cream maker for gelato, sorbet and smoothies
Summers in Australia are hot hot hot and it’s a dry heat. Sorbet, ice cream and gelato are faves during the sweltering months and it’s easy with an ice cream maker. Especially in February after heading back to work and trying to fit in the beach time and summer activities. For the people in the northern hemisphere, it’s a different time of year but we all love a good gelato.
My fave is the Ninja CREAMi Ice cream maker, check it out. It has other functions like for frozen yoghurt and milkshakes. I use the smoothie option, yummy. A good combo here is matcha powder, some plain ice cream and a little cream – omg.
One of my fave recipes is coconut milk and honey. I put 5 egg yolks in it and a little cream to richer it up.
In summer I sometimes throw in mango too. This machine is so strong I just chuck in all of the fruit and ingredients, freeze it (or not) and mix it up. For a smooth gelato texture, freeze and mix a few times to get the icicles out.
Are you making your own gelato? Share your fave recipe in the comments.
Follow me on these platforms for more: threads, Insta, Facebook, TikTok, Pinterest
-

How to make seaweed tea or fertiliser for the garden
Seaweed tea is an amazing fertiliser for your garden and has benefits also as a foliar spray, fertilising and protecting. The materials you need are readily available if you’re near the ocean and it’s quick to prepare.
If you’d like to research the benefits yourself, check some of the seaweed fertiliser products on amazon or jump on Google and search.
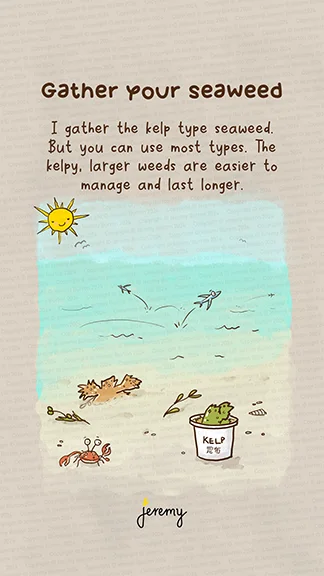
Gather your seaweed
Grab a bucket and hit the beach. The kelp type of seaweed works well but you can use anything. Throw it in the bucket after you’ve removed any sea creatures.
Rinse your seaweed
Rinse off the seaweed with fresh water. You don’t have to, but the salt can be too much for some plants.

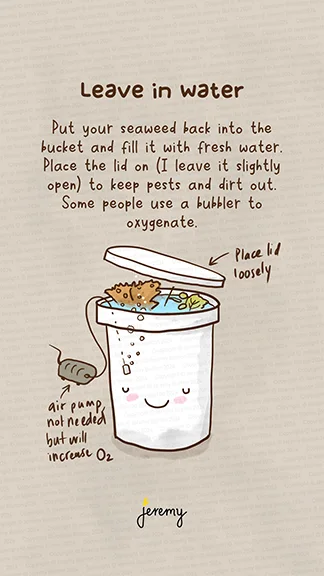
Leave it in the water
Put your washed seaweed back into the bucket and fill it with fresh water. Place the lid back on but leave a small gap. Aerobic steeping works faster. Adding an air pump also speeds it up, but that’s not necessary.
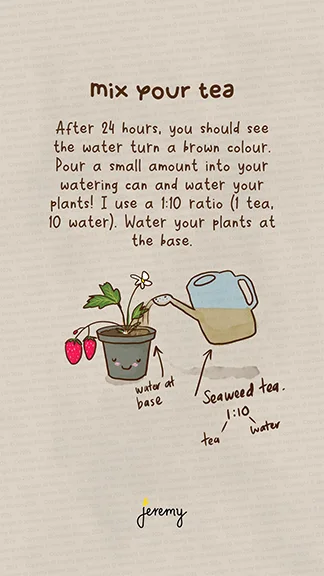
Mix your seaweed tea fertiliser
Your water will start to discolour pretty much immediately, but after 24 hours it’s steeped enough that you can extract some and use it on the garden.
Put a small amount into a watering can and mix it to a ratio of 1 part tea to 9 of water (yes, my diagram below is wrong!). Try watering around the plants just a little to begin with.
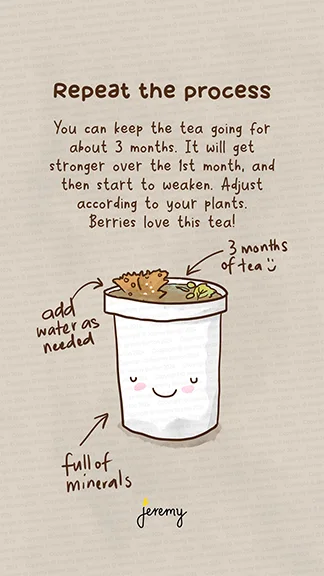
Repeat the process
You can keep the process going for ages. It will get stronger and stronger, so dilute it further as it ages. Test it out on your plants and see how they respond. I’ve found that berries love it!
Follow me on these platforms for more: threads, Insta, Facebook, TikTok, Pinterest